Starting Seeds Indoors: Maximizing Your Head Start on Spring
April marks the exciting start of the gardening season for many enthusiasts. While it may still be chilly outside, starting seeds indoors opens up a world of possibilities for a thriving garden come spring. In this guide, we'll walk you through the step-by-step process of starting seeds indoors in April, ensuring a successful and rewarding gardening journey.
Step 1: Gather Your Supplies
Before diving into seed starting, gather all the necessary supplies:
Seed trays or containers with drainage holes
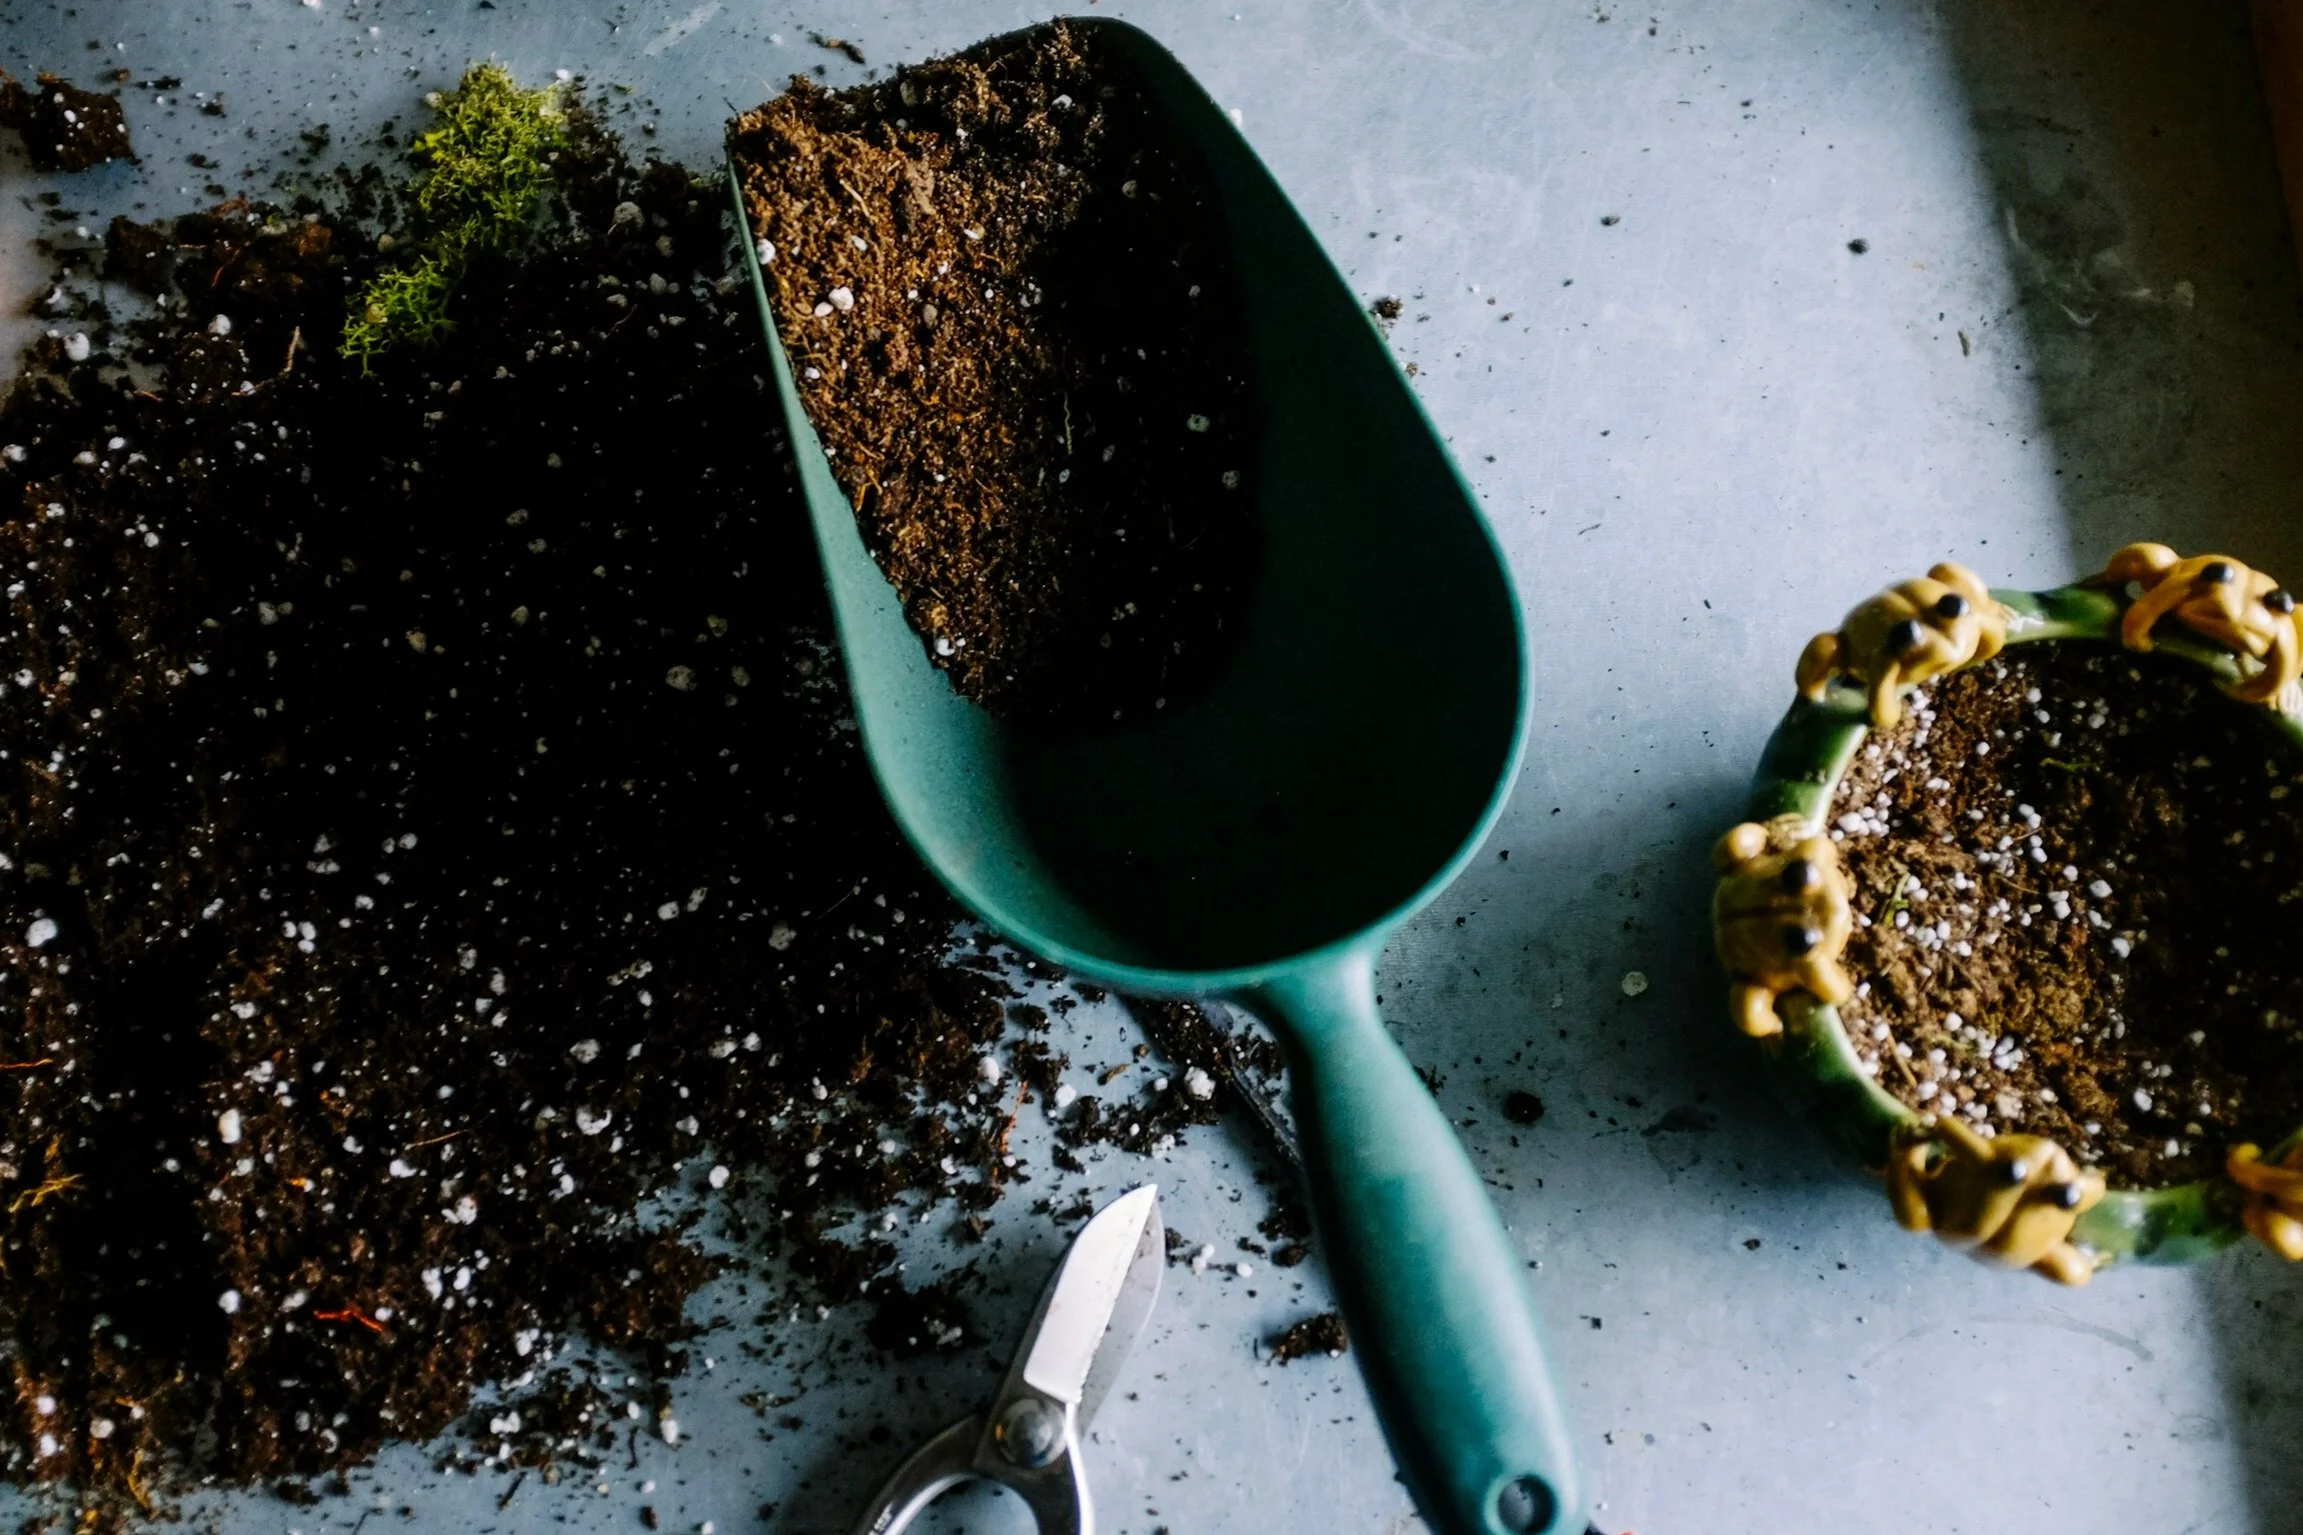
High-quality seed starting mix
Seeds of your choice (vegetables, herbs, flowers)
Watering can or spray bottle
Grow lights or a sunny windowsill
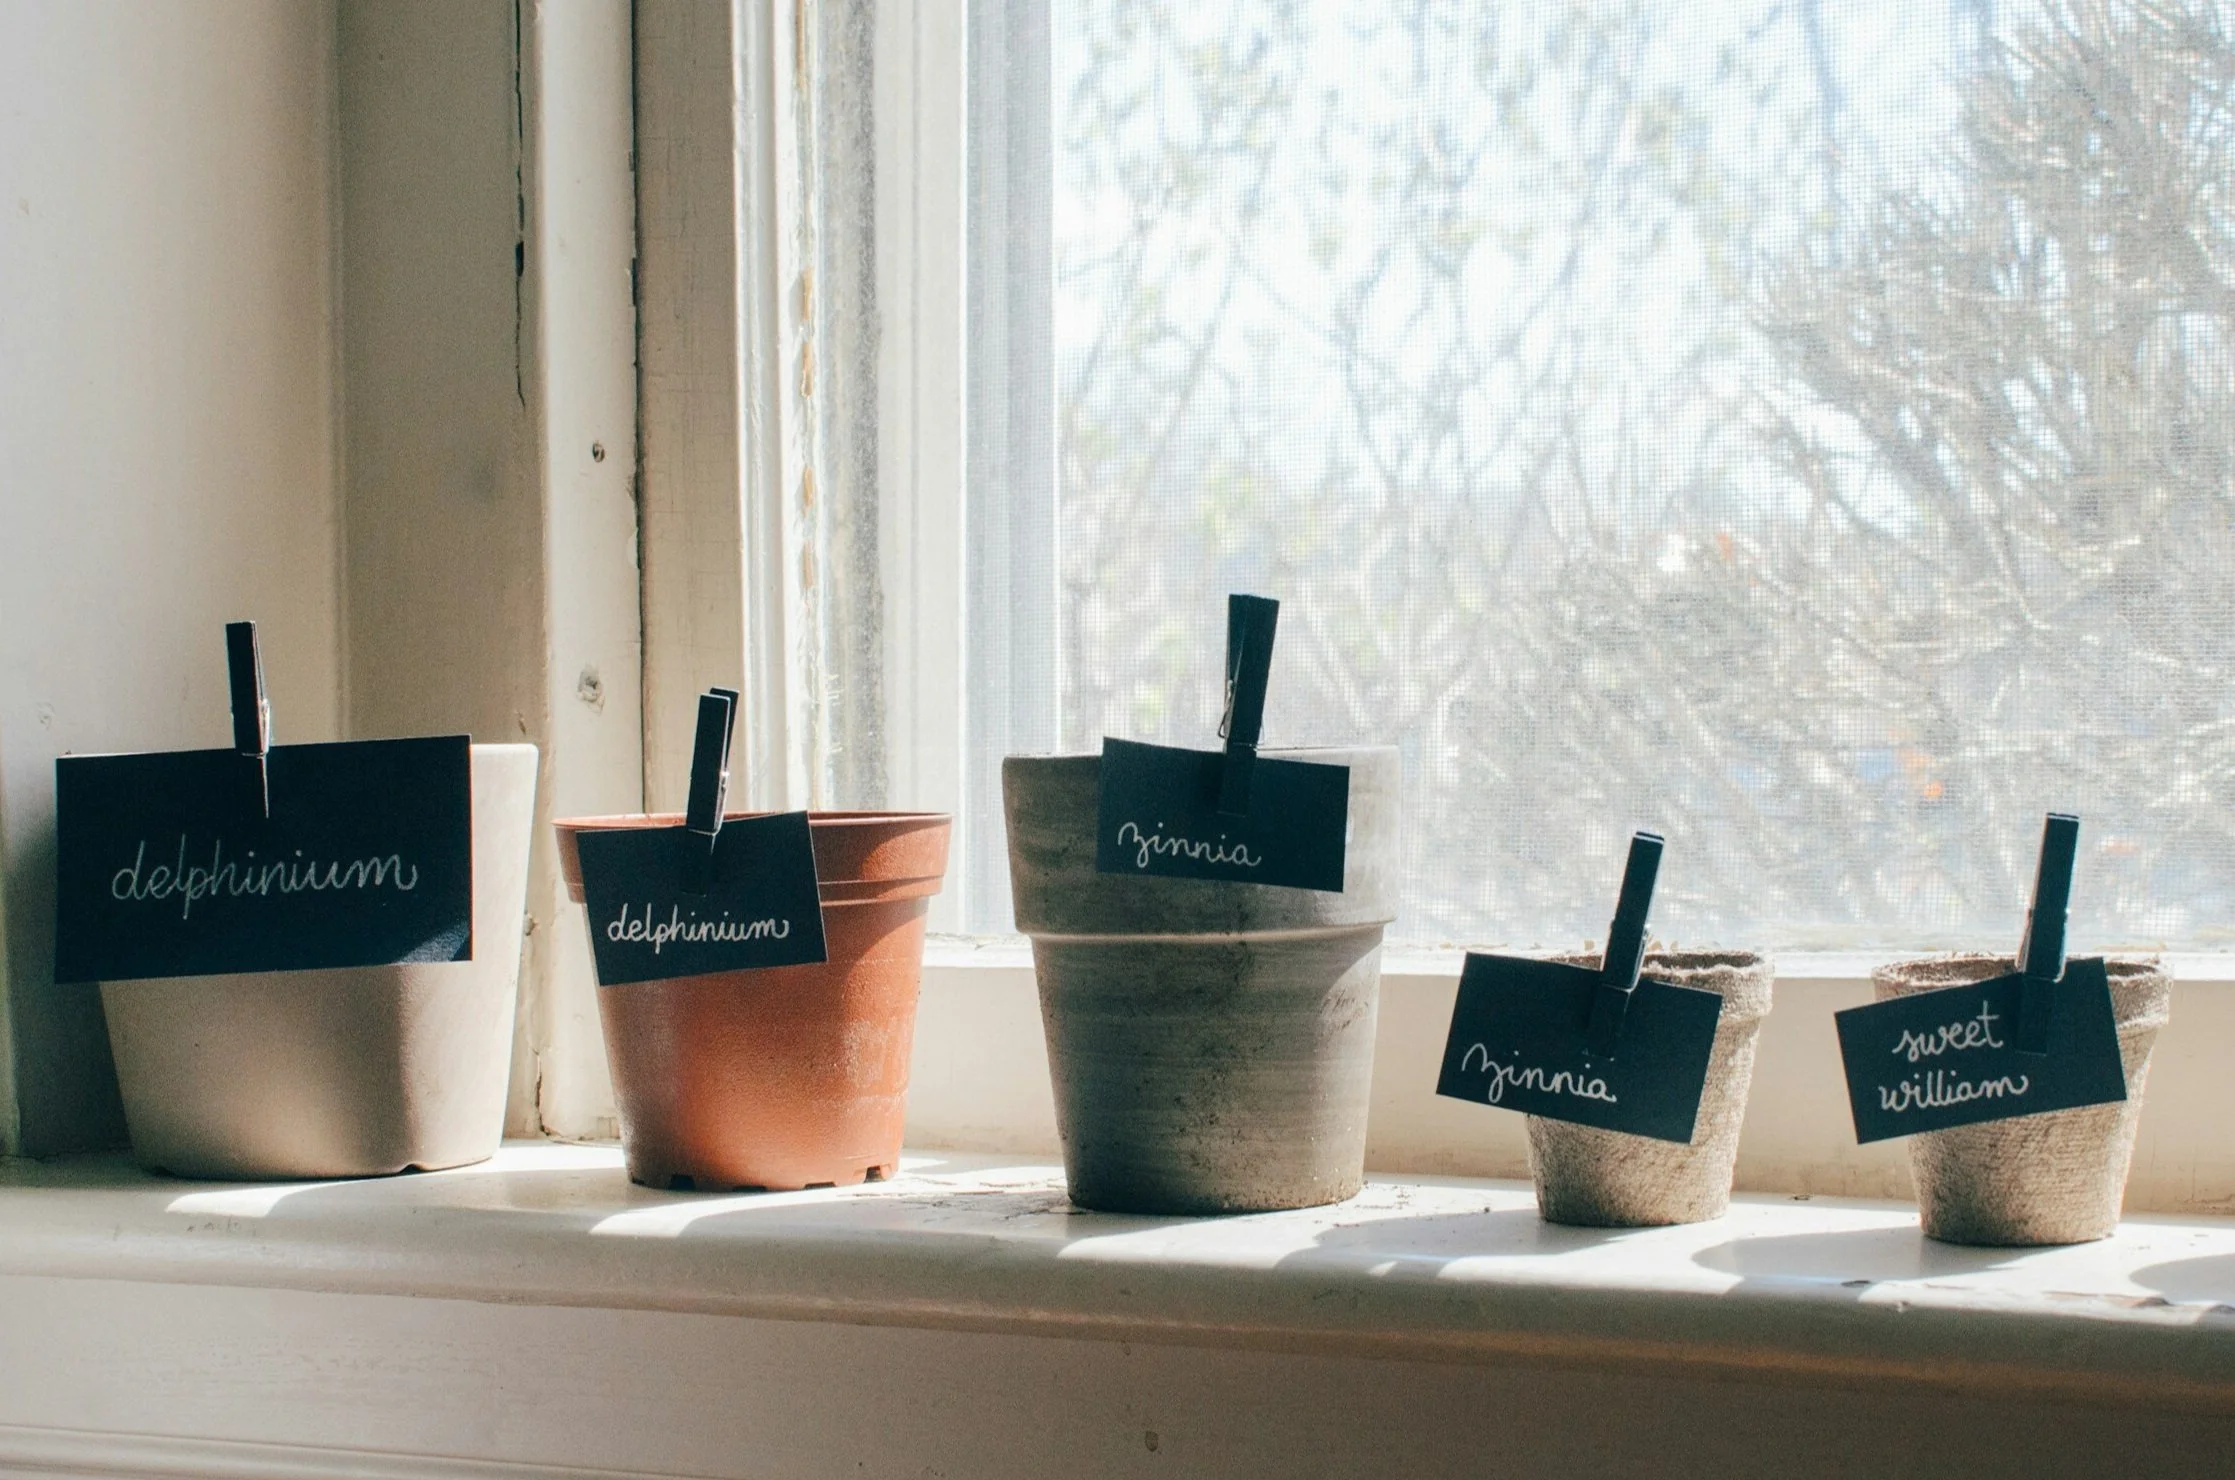
Labels and markers
Step 2: Choose the Right Seeds
Select seeds that are suitable for indoor starting in April. Opt for varieties that have a longer growing season or require a head start indoors, such as tomatoes, peppers, eggplants, basil, parsley, and marigolds.
Step 3: Prepare Your Containers
Ensure your containers are clean and have proper drainage. Fill them with seed starting mix, leaving a little space at the top for watering. Moisten the mix slightly before planting seeds to provide a good environment for germination.
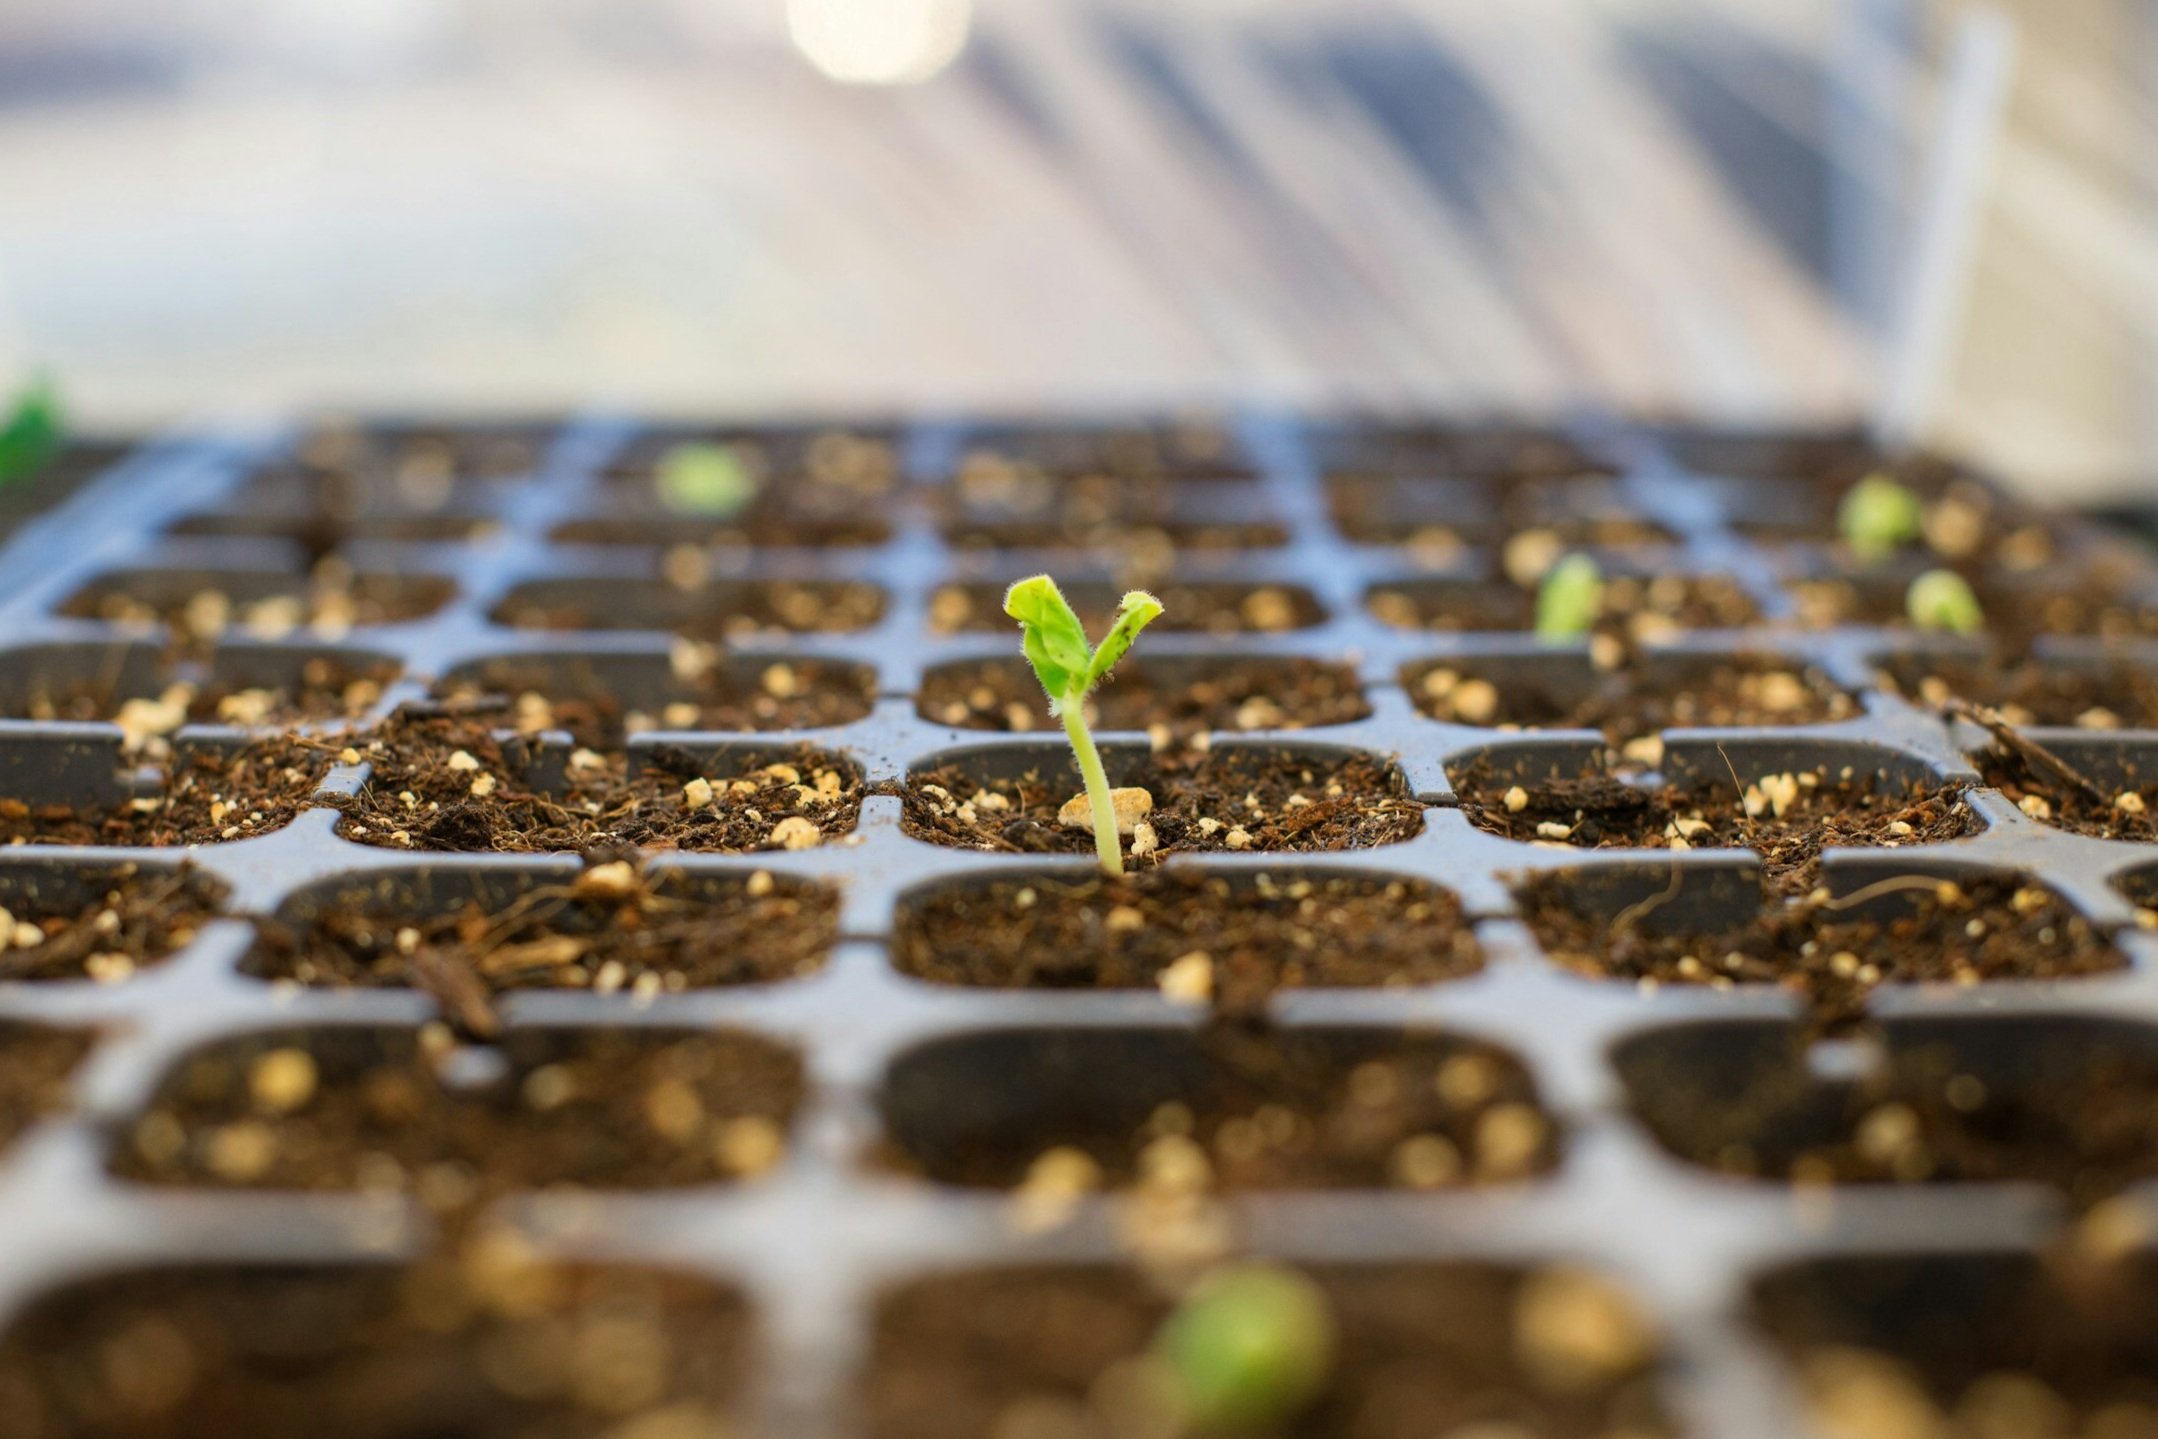
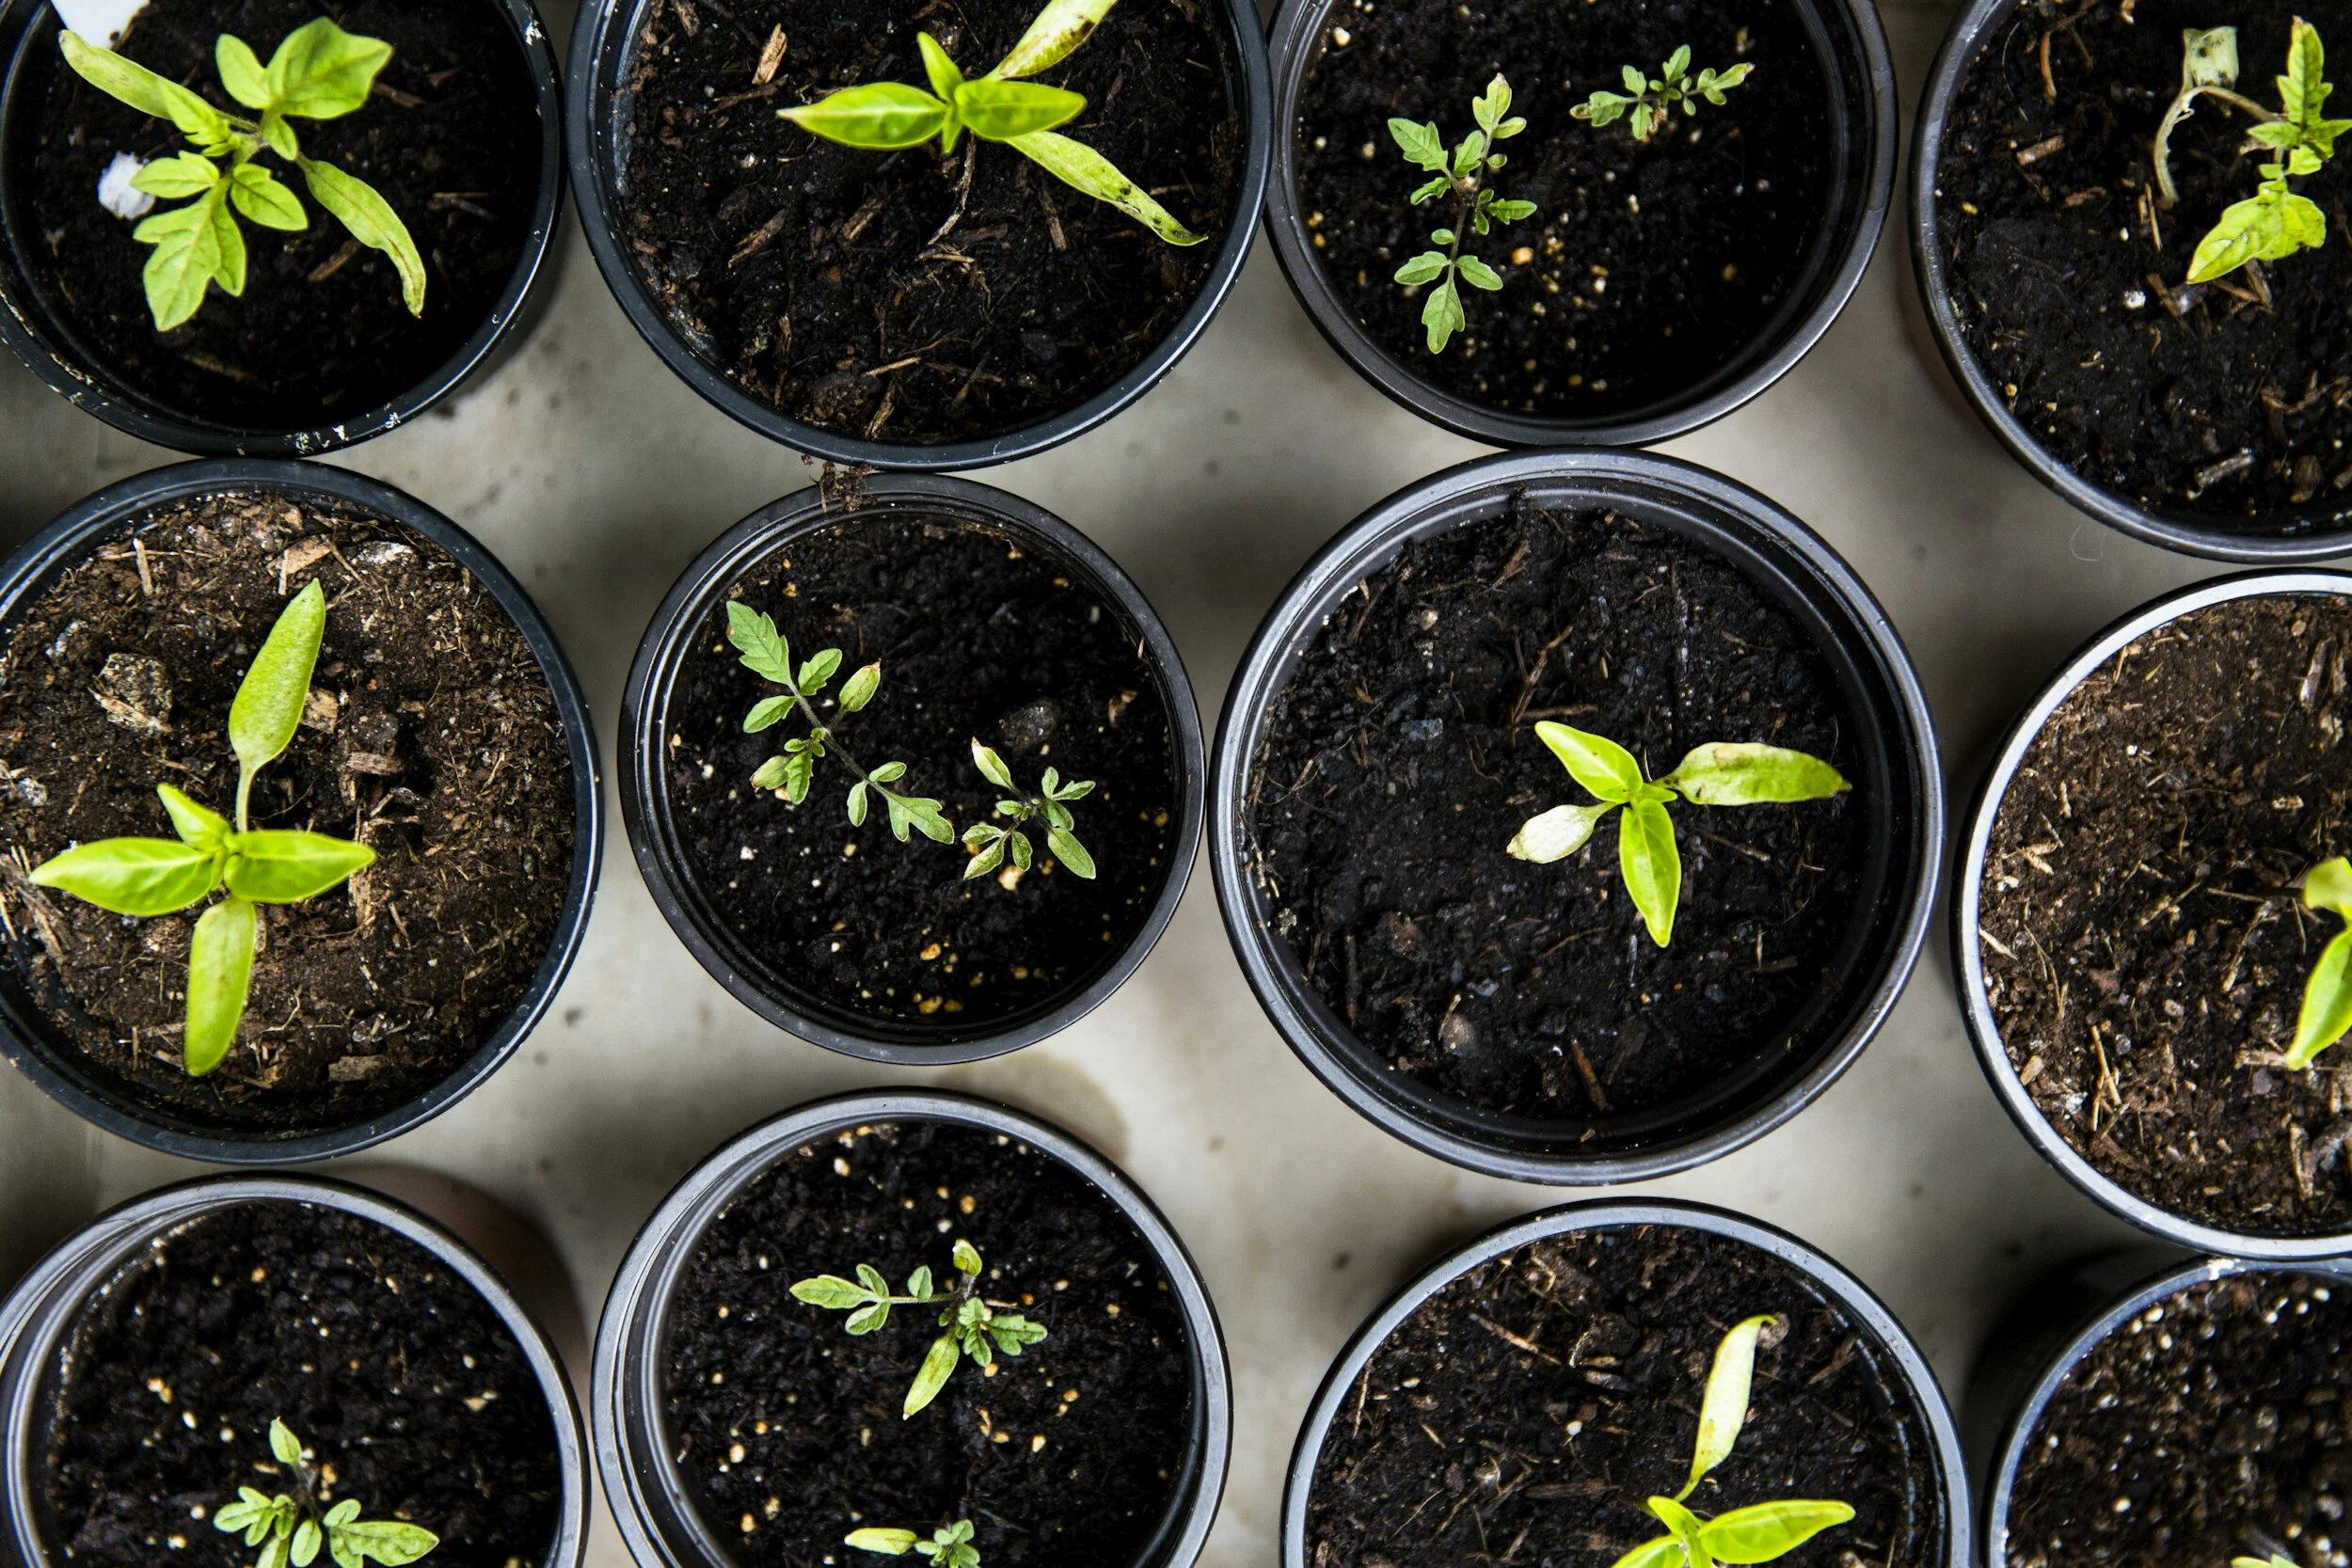
Step 4: Planting Seeds
Follow the instructions on the seed packets for planting depth and spacing. Make small indentations in the soil with your finger or a pencil, drop in the seeds, and cover them lightly with soil. Label each container with the plant variety and planting date.
Step 5: Provide Optimal Conditions
Place your seed trays in a warm, well-lit area. A windowsill with bright light is ideal, but If natural light is limited, use grow lights positioned 2-3 inches above the seedlings. Maintain a consistent temperature of 65-75°F (18-24°C) for optimal germination.
Step 6: Watering and Moisture Control
Keep the seed starting mix consistently moist but not waterlogged. Water gently using a spray bottle or watering can. Check the moisture levels regularly and adjust watering as needed.
Step 9: Harden Off Seedlings
Before transplanting seedlings outdoors, gradually acclimate them to outdoor conditions. Start by placing them outside in a sheltered location for a few hours each day, gradually increasing exposure to sunlight and wind over a week or two. Before exposing your seedlings to outdoor conditions, ensure that the temperature outside is warm.
Step 10: Transplanting Seedlings
When seedlings have developed sturdy stems and several sets of leaves, they are ready for transplanting into your garden! Dig a hole slightly larger than the root ball, gently remove the seedling from its container, and plant it at the same depth as it was in the container. Water thoroughly after transplanting to help the seedling establish roots.
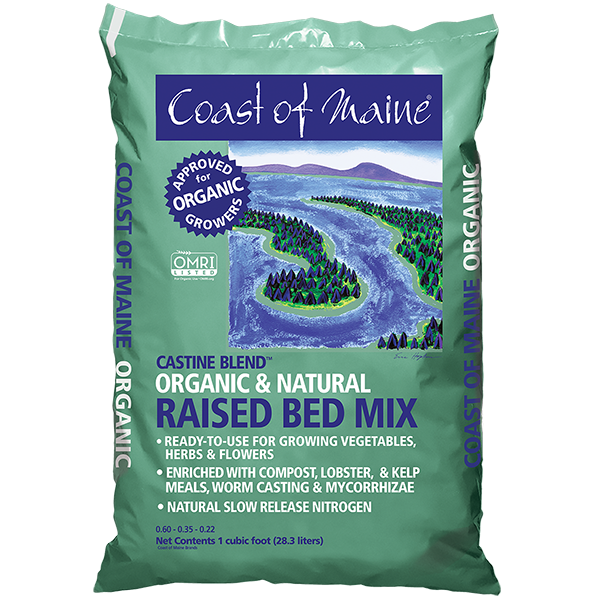
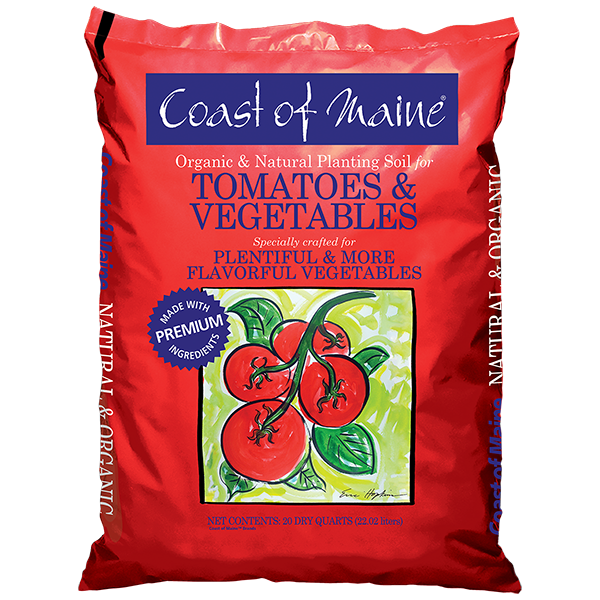
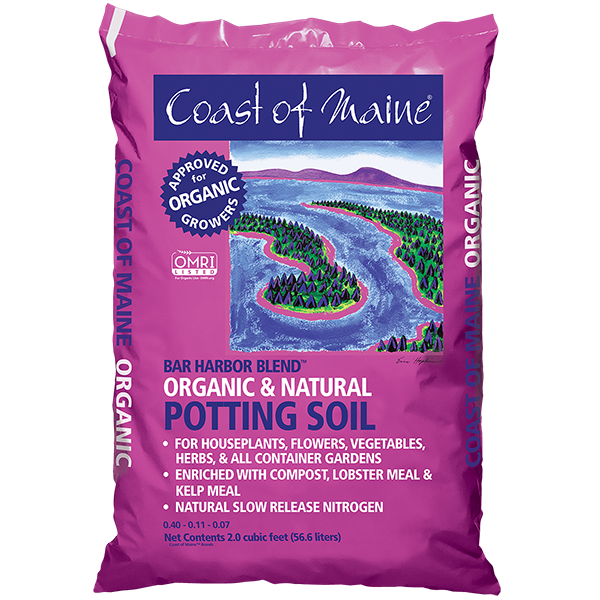
Starting seeds indoors opens the door to a world of gardening possibilities. With proper care and attention, you can nurture healthy seedlings that will eventually flourish into vibrant plants in your garden. Explore our diverse range of soils, such as Coast of Maine, to optimize the growing environment for your seedlings, and stop by and check out our variety of veggie and herb seeds. Happy gardening!